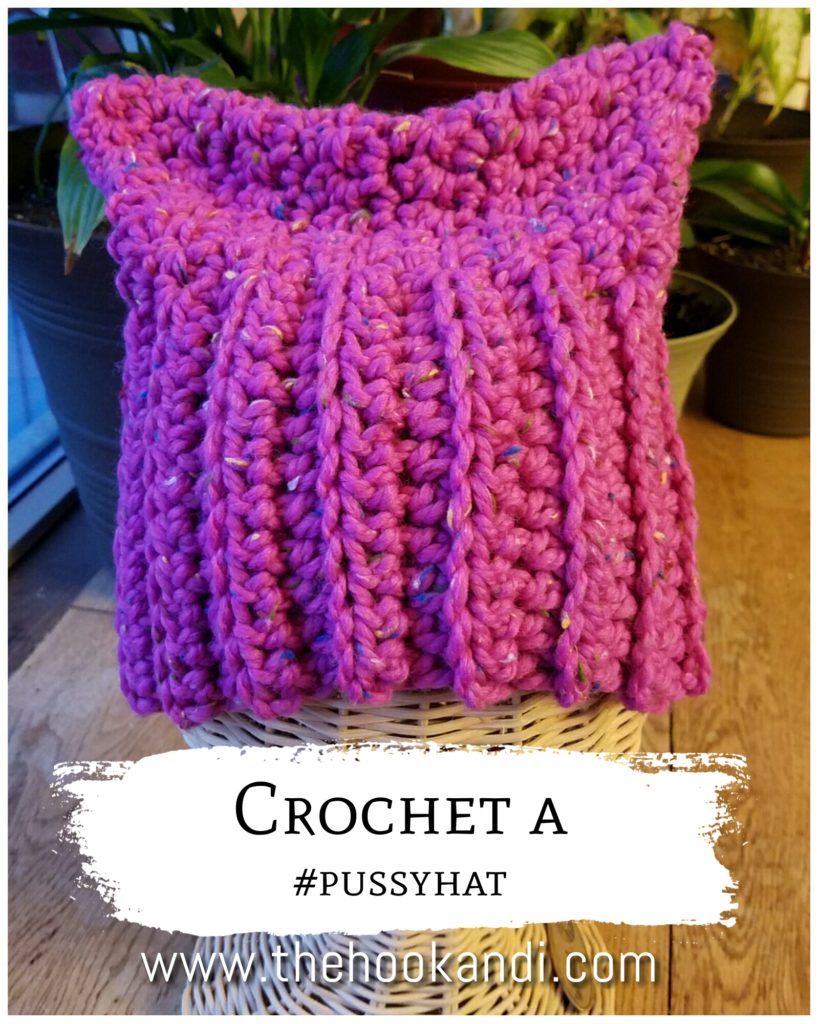
The nation’s fiber community appears to have gotten a bee in its collective bonnet. Or, rather, we’ve been grabbed by the urge to make pussyhats for the Women’s March–on Washington and all over the country. So much so, that there’s been a run on pink yarn across the country!
Purrsonally, I’m tickled pink about the idea of so much craftivism happening all at once. A couple of things are particularly awesome about this project:
- The idea of the pussy hat is striking–a sea of people, women AND men, standing up for equality by wearing fun, handmade hats. I love hats!
- The folks at the pussyhat project conceived a super-simple construction idea–a rectangle, that when folded in half, creates a hat with auto-magically appearing ears. What this does is leave an OPEN CANVAS for knitting, crocheting, or sewing and creating that rectangle any way you want.
I decided what I wanted to do was crochet my hat sideways, so that I could easily create a rectangle with both ribbing and smooth fabric using the bulky pink yarn I had in my stash. I have several more hats to make–that I should mail ASAP, so I’m keeping this post brief. (If you want to see another cute take on a crocheted version–check out Kim Werker’s. I love it!)
Here’s a recipe to make my crocheted version. Grab a pencil and a measuring tape, along with your yarn and hook. Any yarn and hook size will work! This pattern is especially great for bulky yarn and turning out many hats quickly.
Measure your head. The width of the hat fabric needs to be 1/2 of this measurement, minus an inch or so for stretch (The bulkier the yarn, the less elastic it will likely be. you can wrap the hat around your head while you’re working to see if it’s big enough). My hat made with bulky yarn is 9″ across the front, unstretched. (Head circumference/2 – 1 = _________ [W])
Make a ch 17″ long, then add 2 ch.
(TIP: make your tail long enough to sew up one side–a yard should probably do it).
Hdc into the back bump of the chain for 4 1/2 inches across the ch. Count that number of stitches (for me it was 11). This will be your ribbing section, and you’ll repeat it at the other end of the hat. ________ sts [R].
Esc (extended single crochet) across until you reach the final ____ [R] stitches.
Hdc in those final stitches. Turn.
Work all subsequent rows as follows:
Hdc ____[R], esc across to final ___[R] sts, hdc to end.
This gives you a fabric that’s ribbed on each end and soft and flexible in the middle.
Work as indicated until your fabric is [W] inches wide.
Fold the hat in half and crochet the side edge together with a slip stitch, loosely. Fasten off and repeat for the other side. Weave in ends. Make several and share with your friends!
